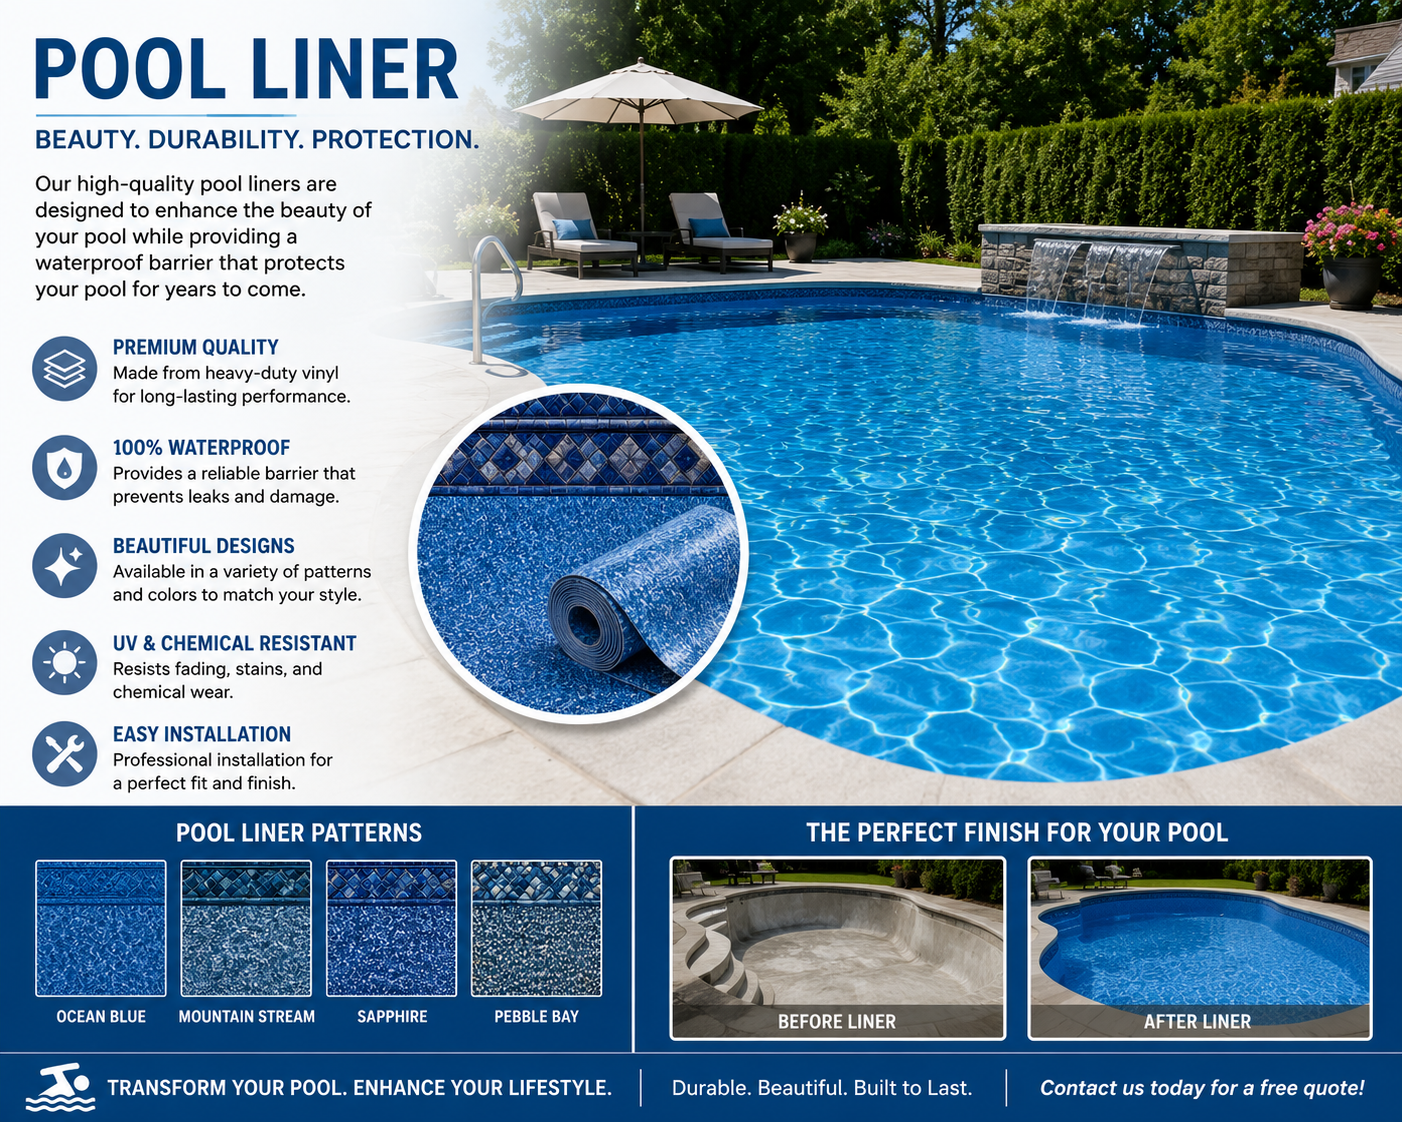
A well-designed swimming pool can make a backyard more enjoyable while providing a dedicated space for recreation and relaxation. Among the available construction approaches, vinyl-lined pools offer flexibility in shape, size, and overall layout.
Understanding vinyl pool installation helps homeowners prepare for construction and make informed decisions about their outdoor space. From initial measurements to final water balancing, every stage contributes to the pool’s appearance, functionality, and long-term performance.
What Is a Vinyl-Lined Swimming Pool?
A vinyl-lined swimming pool uses a flexible waterproof liner fitted over a prepared pool structure.
The liner creates the interior surface that holds the water while providing a smooth finish.
These pools can accommodate various configurations, including rectangular designs, curved layouts, and different depths.
Because the liner is a separate component, it can eventually be replaced without rebuilding the entire pool when the underlying structure remains suitable.
Step 1: Evaluate Your Backyard
Before construction begins, the property must be assessed carefully.
Important factors include soil conditions, drainage, available space, underground utilities, and access for equipment.
Measure the Available Area
Accurate measurements help determine the pool’s practical dimensions.
Homeowners should allow room for fencing, walking surfaces, equipment access, and surrounding landscaping.
Examine Ground Conditions
Stable ground preparation supports the pool structure.
Properties with slopes, drainage concerns, or challenging soil conditions may require additional planning.
A proper assessment helps identify potential complications before excavation.
Step 2: Select the Pool Shape and Depth
One advantage of vinyl pool installation is the ability to accommodate different design preferences.
Rectangular pools provide a straightforward swimming layout, while curved shapes may complement natural landscaping.
Depth selection should reflect the intended use of the pool.
Families may prefer gradual transitions, while exercise-focused homeowners may prioritize uninterrupted swimming space.
Safety considerations should guide every design decision.
Step 3: Prepare the Construction Area
Once the design is finalized and necessary approvals are addressed, construction preparation begins.
The work area is marked according to the planned dimensions.
For an inground pool, excavation creates the required space for the structure.
The base must be carefully prepared to support the intended pool shape and depth.
Attention to measurements at this stage helps prevent alignment problems later.
Step 4: Build and Prepare the Pool Structure
Installing Structural Components
The pool walls are assembled and positioned according to the design.
Proper alignment is essential because uneven walls can affect the final liner fit.
Preparing the Pool Floor
The floor surface is shaped and smoothed to match the required contours.
Any sharp objects, uneven areas, or debris must be removed before the liner is positioned.
This preparation helps protect the material from premature damage.
Step 5: Complete the Vinyl Pool Installation
The liner is carefully placed inside the prepared structure.
Installers align it with corners, slopes, steps, and other design features.
Specialized fitting techniques help remove trapped air and reduce wrinkles as the liner settles.
The pool is then filled gradually, allowing the material to adjust to the surrounding structure.
Careful monitoring during filling helps maintain proper positioning.
Step 6: Inspect Equipment and Water Conditions
Once installation reaches the appropriate stage, circulation and filtration components are checked.
Water chemistry must also be adjusted before regular swimming begins.
Proper circulation, filtration, and chemical balance support a cleaner swimming environment and help protect the liner.
Homeowners can explore experienced swimming pool installation specialists to better understand installation requirements and suitable preparation methods.
Maintaining a Newly Installed Vinyl Pool
Vinyl liners require consistent but gentle maintenance.
Avoid abrasive cleaning tools that could scratch or damage the surface.
Regularly test water chemistry and remove debris before it accumulates.
Inspect the liner around steps, corners, and fittings for signs of movement or wear.
Seasonal winterization is particularly important in regions with freezing temperatures.
Conclusion
Vinyl pool installation involves several carefully coordinated stages, beginning with backyard assessment and ending with final equipment checks and water preparation. Accurate measurements, stable structural preparation, and precise liner fitting all contribute to dependable performance. Homeowners should also consider long-term cleaning, safety, and seasonal maintenance before construction begins. With thoughtful planning and proper care, a vinyl-lined swimming pool can become a comfortable, attractive, and lasting feature of an enjoyable backyard environment.
What do you feel about this post?

Like

Love

Happy

Haha

Sad